


This publish is sponsored by ProCore Flooring.
Every little thing it’s essential know to put in an LVP herringbone vinyl flooring your self as a floating flooring over tile with out demo so as to add a sturdy, high-end look to your home for much less.
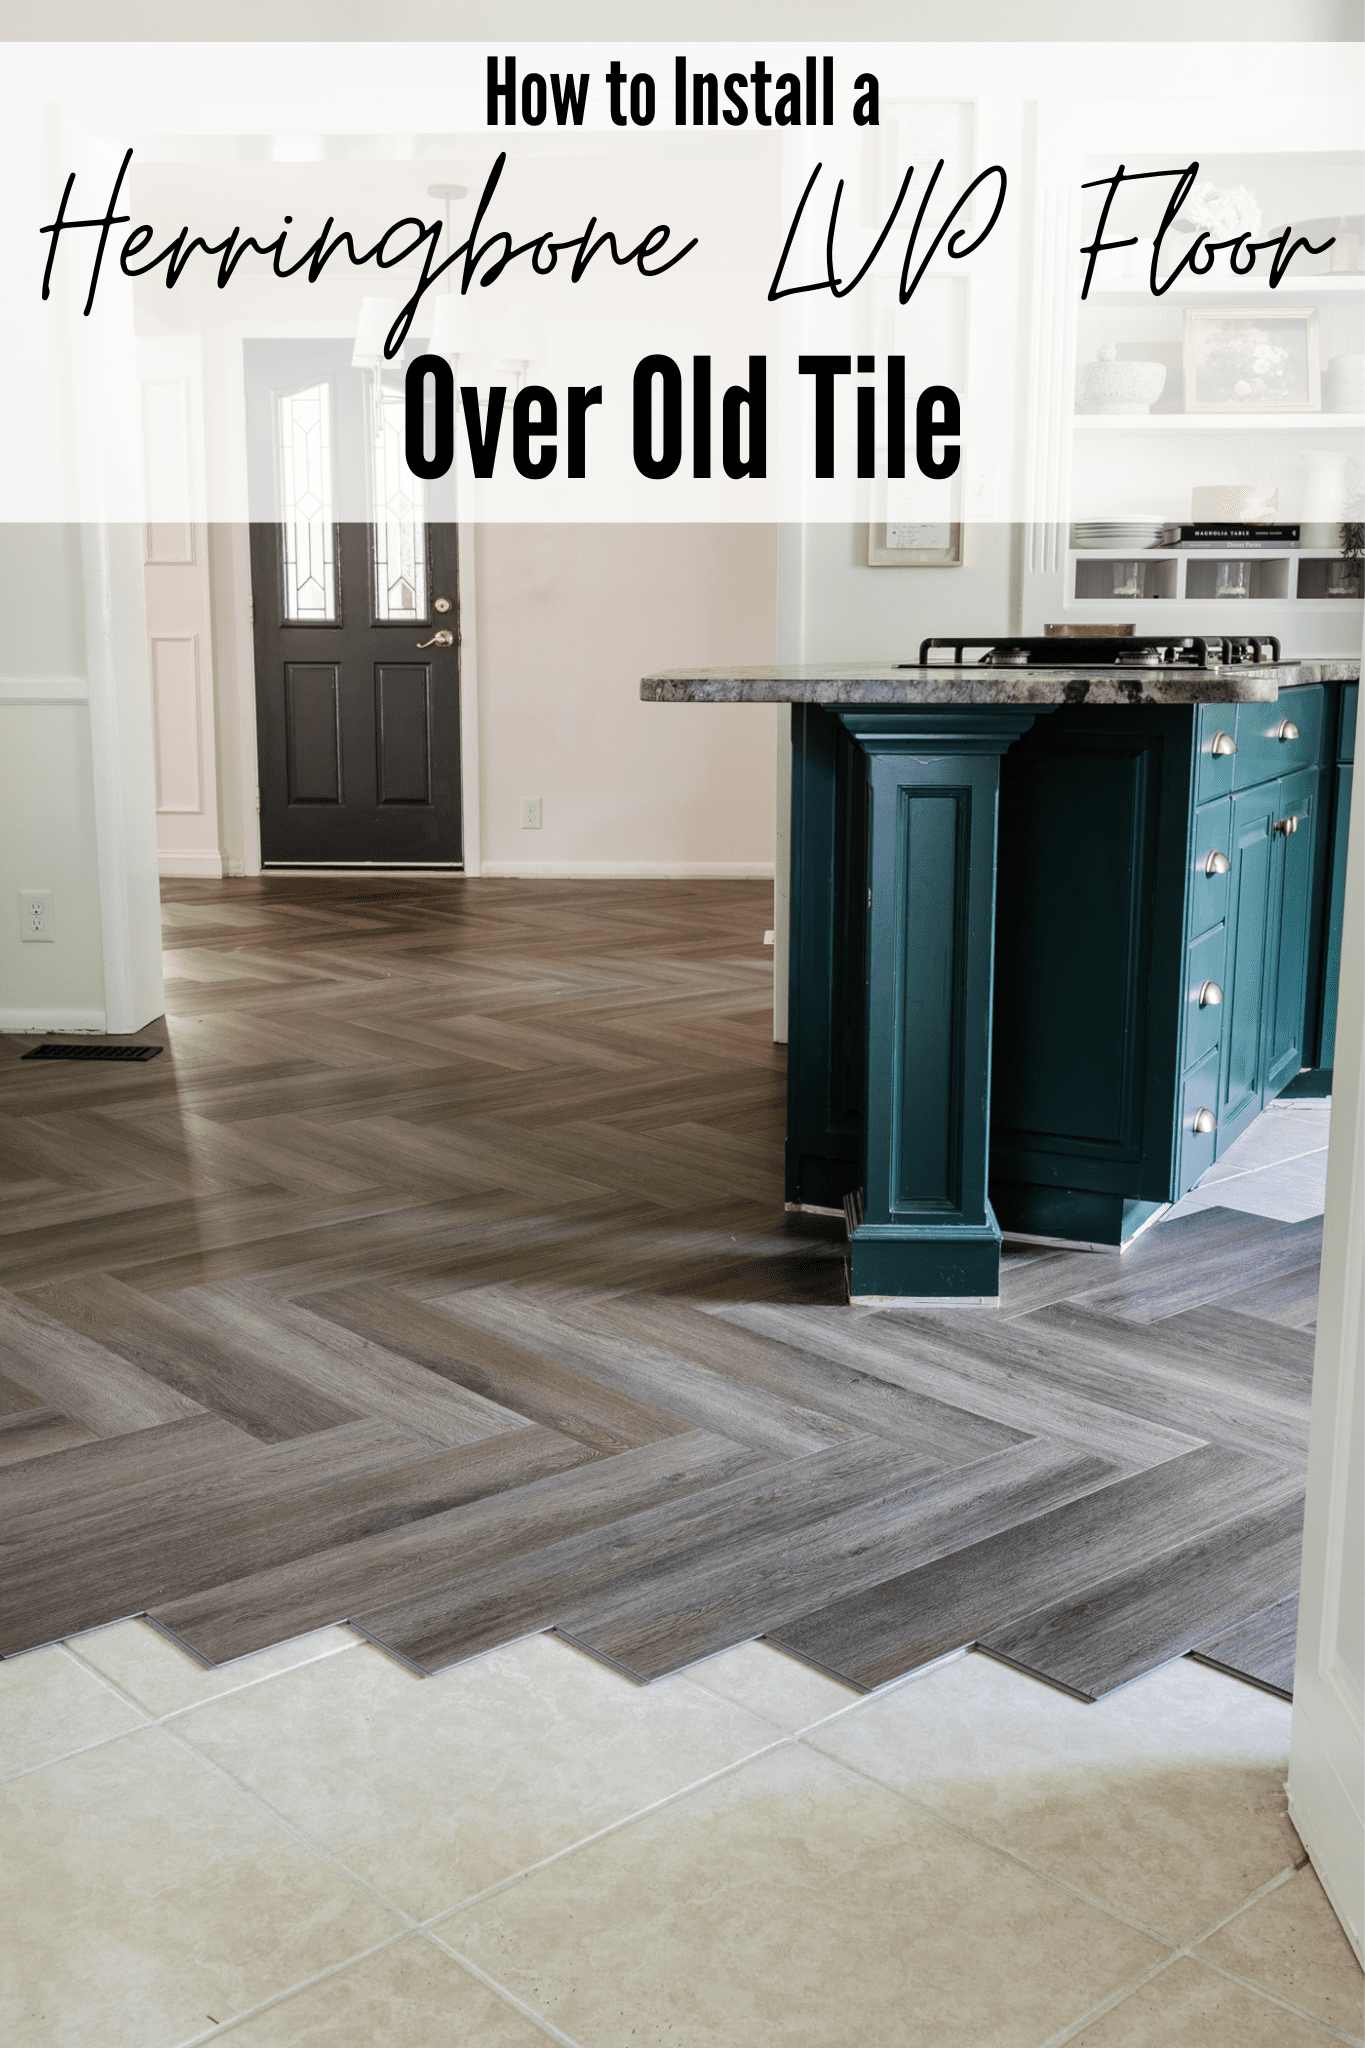
Bye bye outdated, beige tile and hiya fairly herringbone flooring!

Our breakfast nook and our kitchen obtained a significant flooring “glow up” this previous week, and I had no concept the huge distinction simply flooring alone may make to repair the characteristic I’ve despised for thus lengthy on this house… with out the necessity for demo!

Everybody who has walked into our home since we completed it has mentioned, “Woah! This flooring is so cool!”
Why Select Luxurious Vinyl Plank Flooring
The herringbone sample fully makes these rooms, and the posh vinyl plank flooring is way more sturdy and extra cushioned underneath our ft than our unique 60+ year-old hardwood flooring. It most undoubtedly is hotter than our freezing chilly tile was.
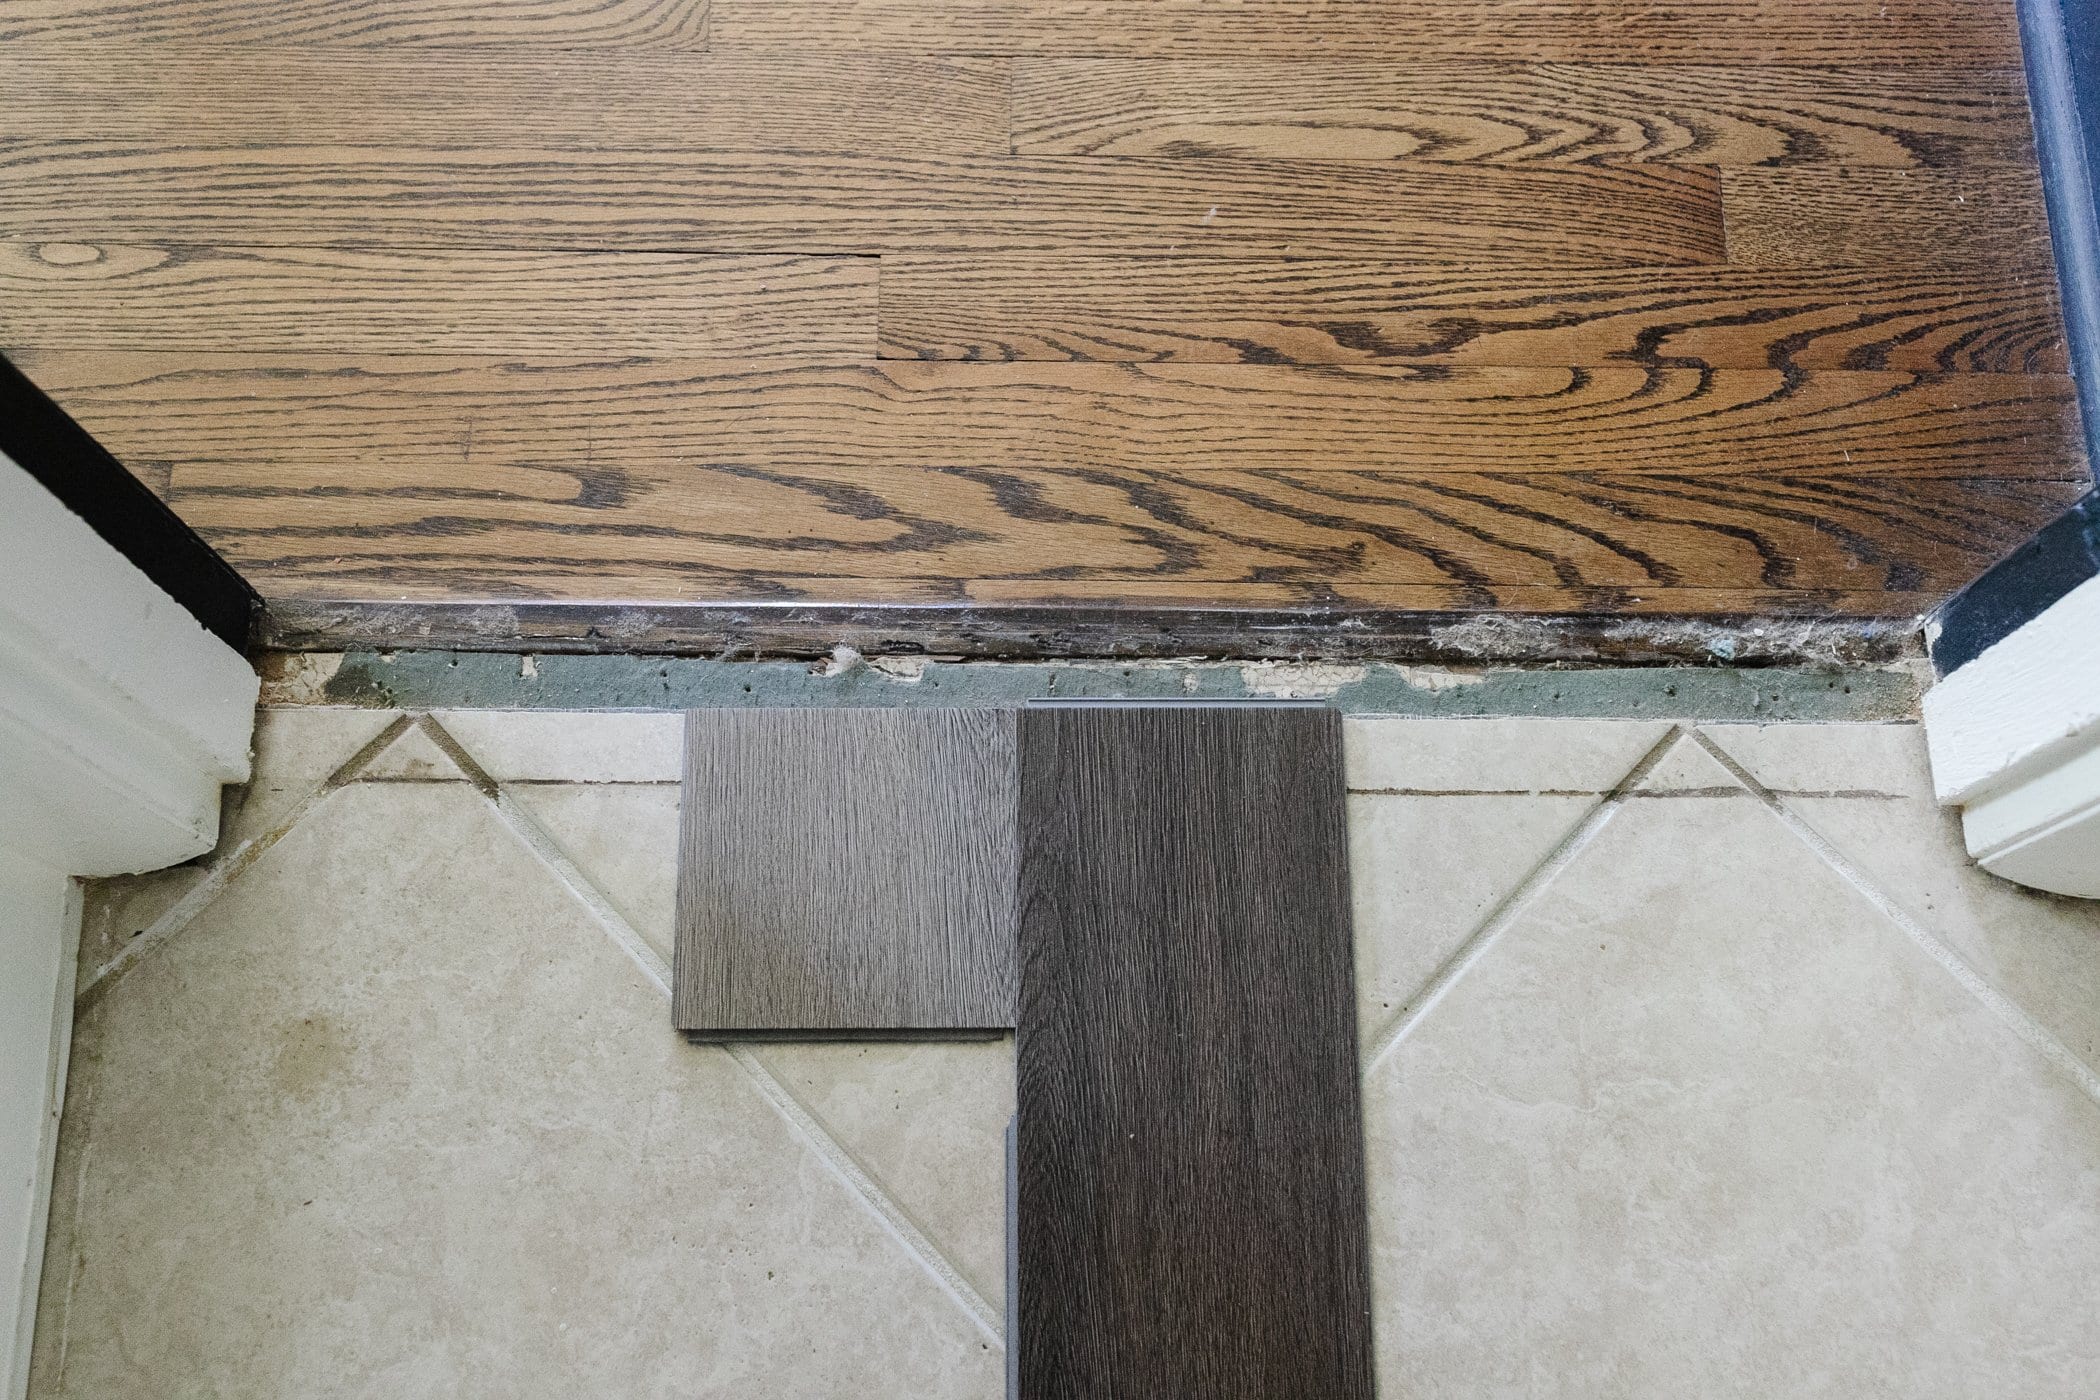
As a result of our breakfast nook and kitchen will get probably the most every day site visitors and connects the entire different rooms of our downstairs, I needed it to echo our home’s conventional fashion with the perform of recent know-how, so we selected the Brookewood Herringbone Luxurious Vinyl Plank waterproof interlocking flooring from the 2 ProCore Flooring colours at Lowe’s. (You may see them in individual at your native retailer.)
For a barely extra trendy, Scandinavian vibe, the lighter Ashewood colour is gorgeous too.
I really like that these flooring have a slight texture to create an much more convincing look of actual wooden planks.
The Advantages of an LVP Floating Ground vs Tile or Hardwood
We have now used ProCore Flooring earlier than in our neighbors’ home once we put in it ourselves of their playroom for his or her 9 children. And since we have been so proud of its sturdiness and ease of set up, we felt fully assured about utilizing it in our kitchen space.
LVP Flooring Advantages:
- Waterproof
- Stain resistant
- Scratch resistant
- Sturdy
- Low upkeep
- Higher sound absorption
- Holds as much as children, pets, and excessive site visitors
- Simpler to put in than tile or hardwood flooring
You may see how we put in common luxurious vinyl plank from ProCore Flooring in our neighbors’ playroom right here. It’s been over a yr and, regardless of 9 children and a canine continually working throughout it, the ground has held up completely!
So I used to be past excited once I came upon about this herringbone vinyl flooring choice!

What’s a Floating Ground?
A floating flooring is an interlocking system just like a puzzle the place the locking flooring supplies create a decent bond with out the necessity for glue or nails to connect it to a subfloor. Luxurious vinyl plank flooring makes use of a tongue and groove or “click on lock” system to snap planks collectively making it straightforward to put in your self.

When to Set up a Floating Ground Over Tile
Usually, I might not recommend a floating flooring over tile for those who have been hiring out a big room rework.
However if you want a DIY flooring resolution or are confronted with finances/time constraints that make eradicating an outdated tile flooring unattainable, it’s a incredible resolution so as to add an improve rather than an eyesore.
Nonetheless, not all LVP flooring are created alike, so it’s essential to make use of a flooring like this one from the ProCore Plus inflexible core line which have a built-in cork underlayment inflexible sufficient for use as a floating flooring over an outdated flooring.
***When putting in luxurious vinyl flooring over tile, your tile must be debris-free and with out cracks, holes, or raised texture.

The place You Can Set up LVP Floating Ground:
- Previous ceramic tile (that’s nonetheless in good situation with none cracks or holes)
- Concrete
- Sheet vinyl flooring
- Particle board
- Hardwood flooring
How one can Set up Herringbone LVP Floating Ground Over Tile
Provides
Floating Ground Set up Technique Steps
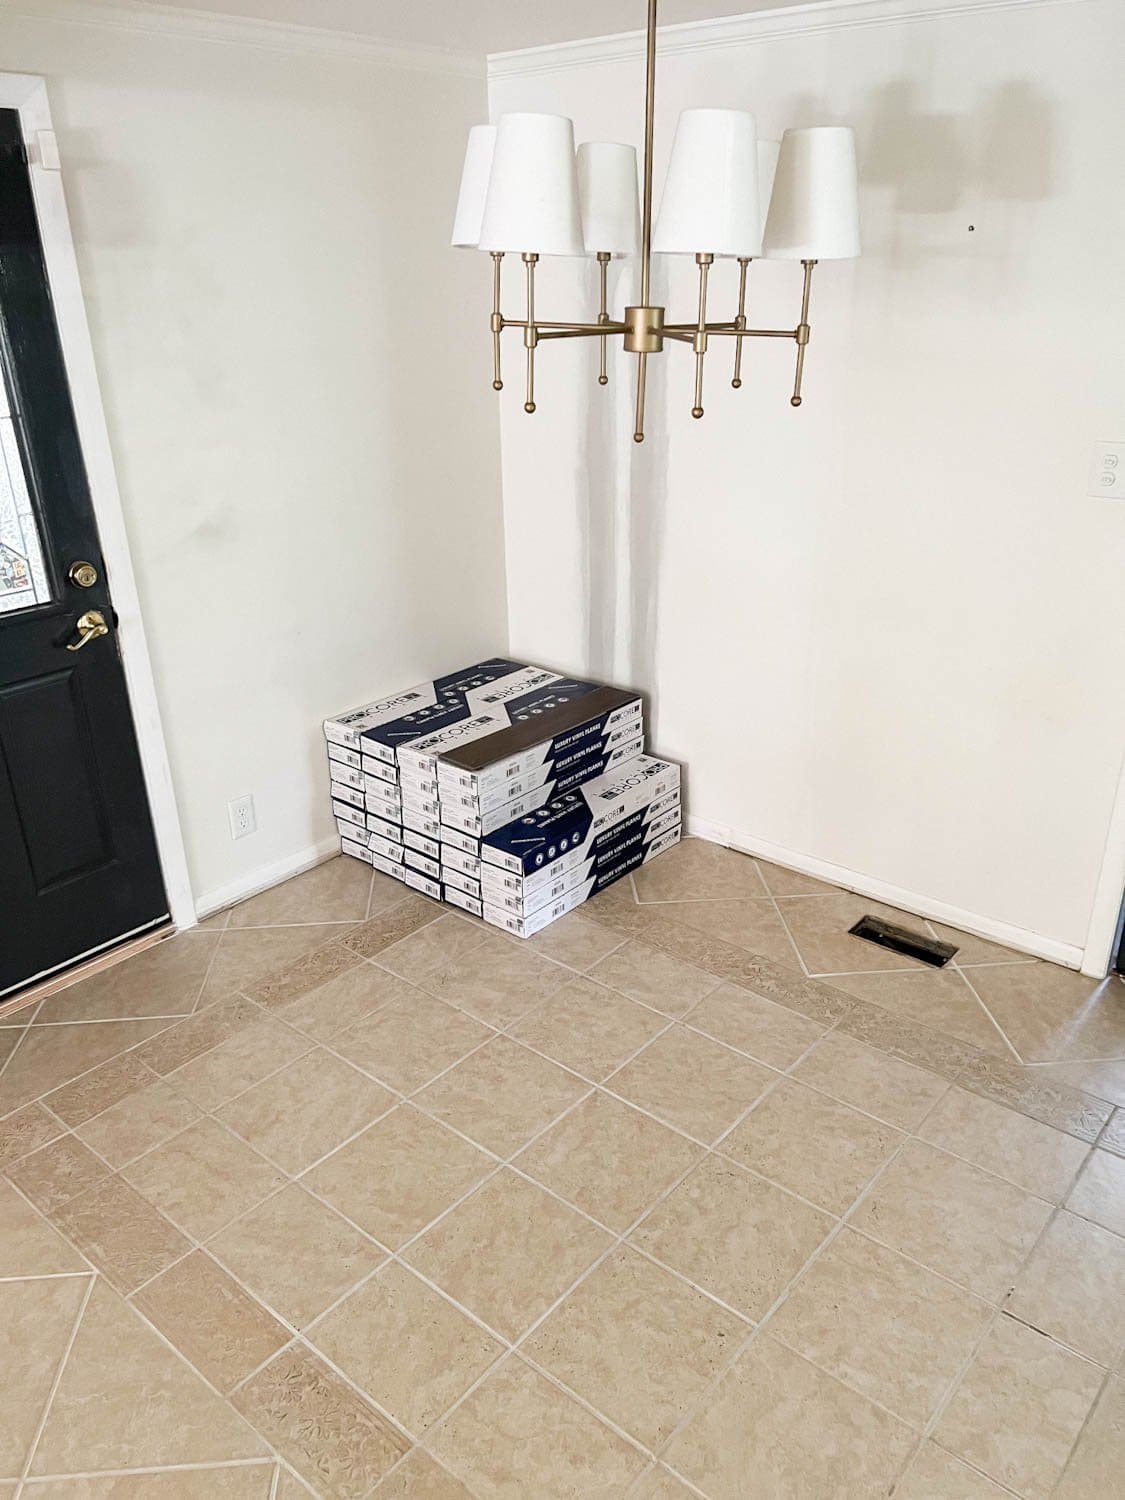
Step 1 Prep the house
Take away any shoe molding within the room earlier than you begin set up. Rating the caulk line on shoe molding with a utility knife, gently pry them off the wall with a pry bar, and put aside. You may put them again after set up so that you don’t have to purchase new shoe molding.

Step 2 Undercut Door Jambs
Use an oscillating multi-tool to chop them to the peak of your LVP flooring so the planks can slide beneath them.

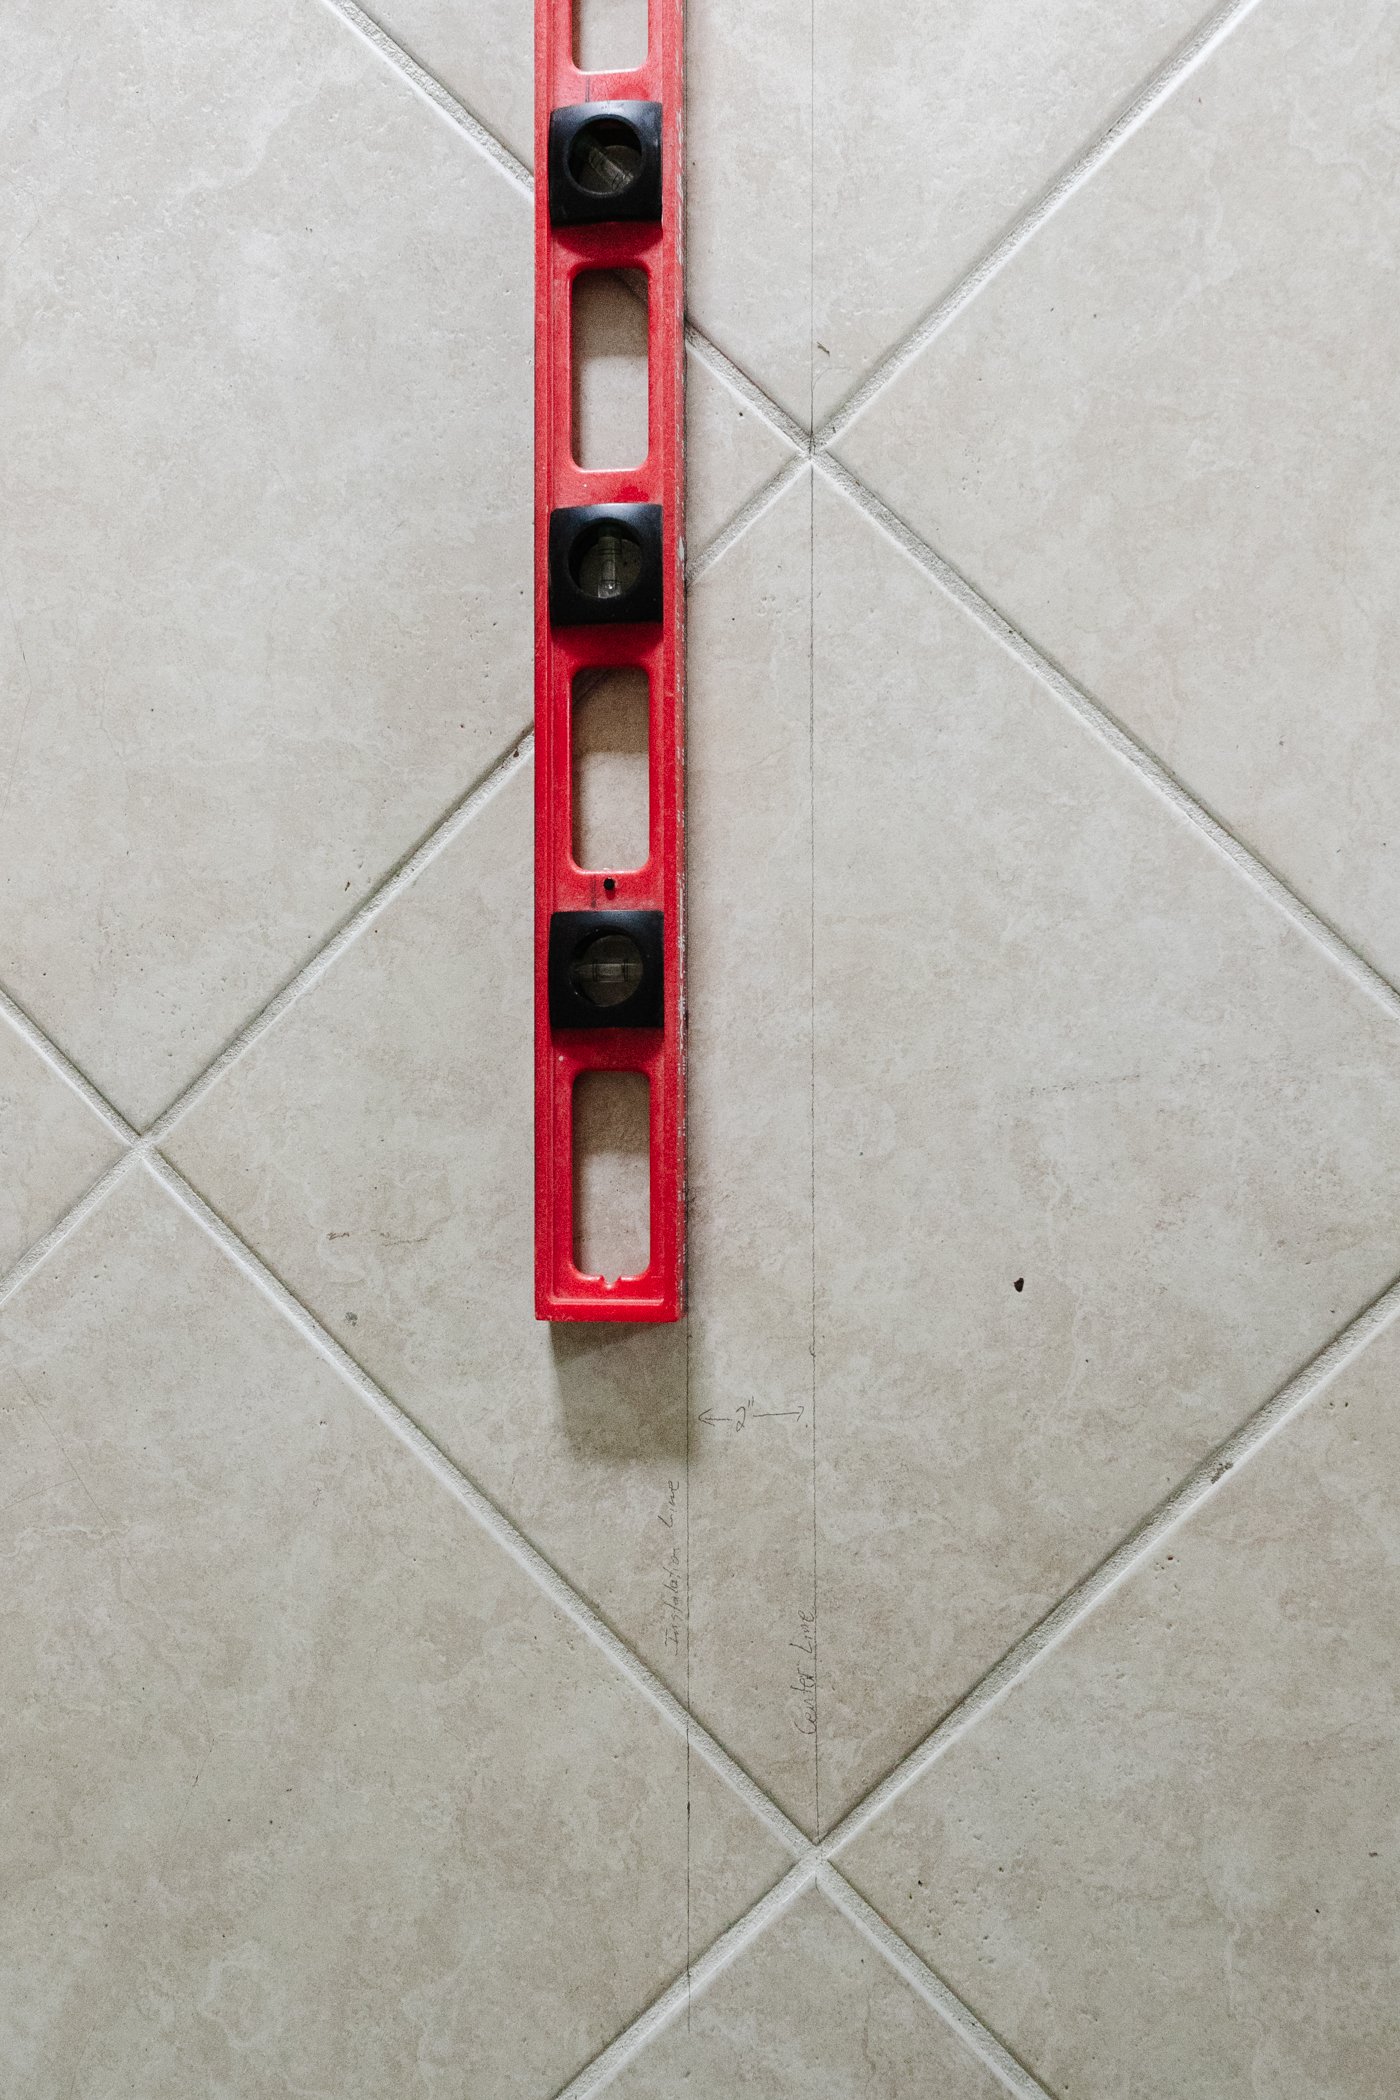
Step 3 Mark Your Beginning Line
Beginning on a clear, debris-free floor, resolve in your format first by selecting which course you need your herringbone sample.
Measure your house and mark the very middle of the room.

Then, utilizing a chalkline or straight edge and pencil, mark the very middle line of the house.

Step 4 Mark A Second Line
After marking your middle line, mark a second line 2 inches over out of your middle line. This will likely be your information in your first row of herringbone planks.

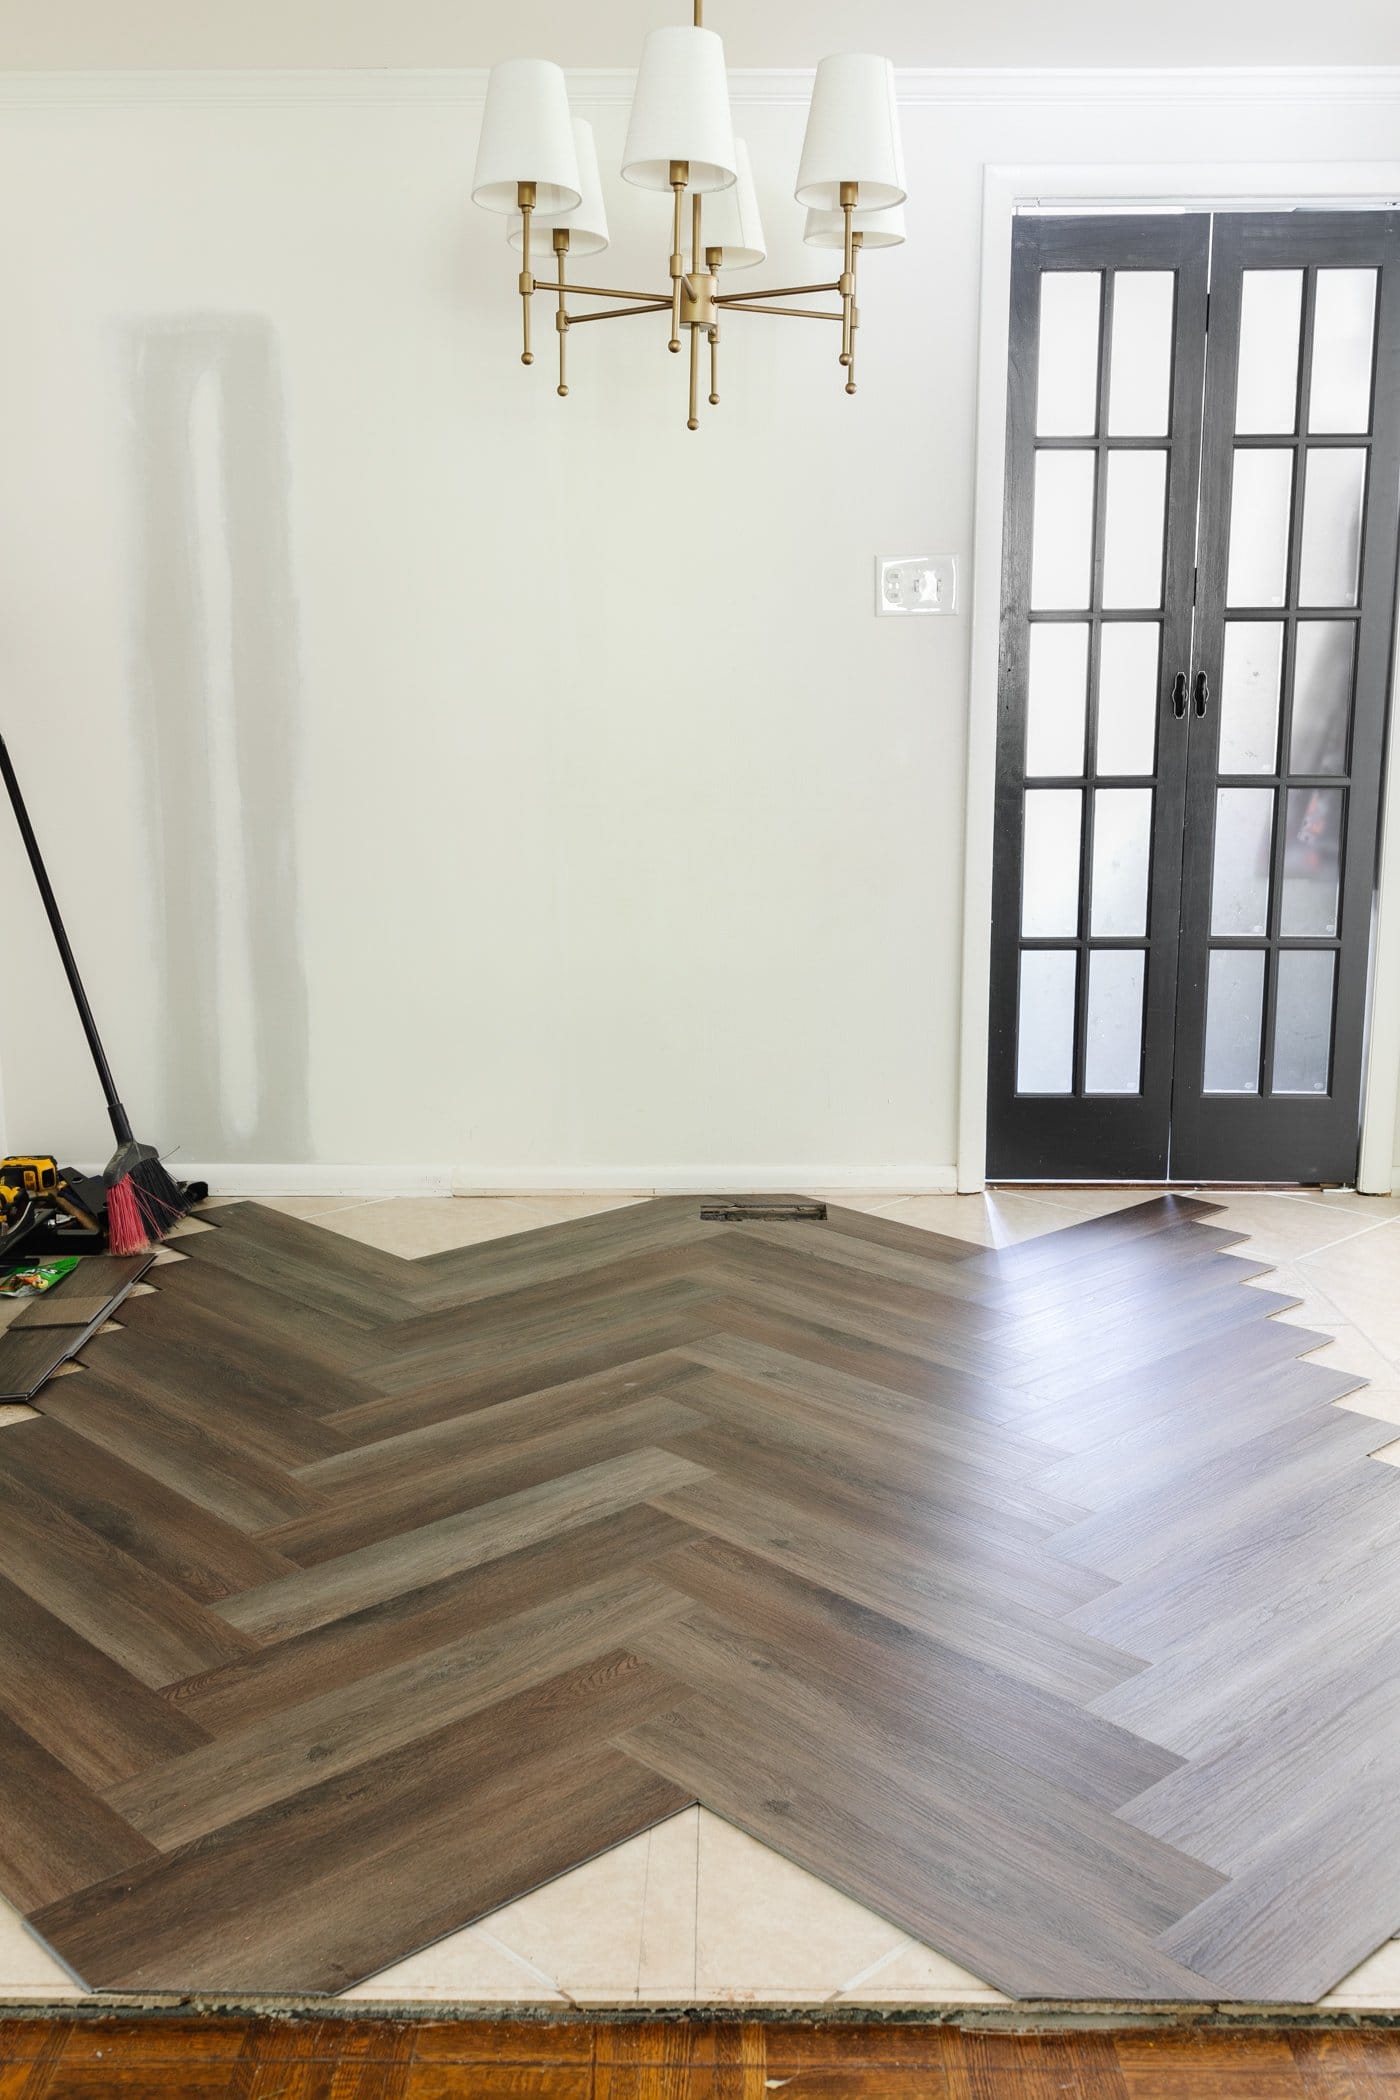
Step 5 Start Inserting Planks
Click on collectively your first few planks, holding the V-shape of the herringbone sample in step with your markings.

Step 6 Click on Seams Collectively
Use a rubber mallet and scrap piece of flooring (not a tapping block) to push planks collectively into a cosy match on the seams.
Step 7 Lock Seams
Then, lock the planks collectively by tapping the highest of the seams with a rubber mallet.


Step 8 Differ Plank Patterns and Shades
As you lay planks, be sure to aren’t putting two matching ones side-by-side with the identical sample and shade. Pull planks from a number of containers and place them into stacks. Take note of the planks you’re grabbing as you’re employed to verify none close to one another look the identical for a extra pure variance.

Step 9 Repeat
Repeat the method of laying, clicking collectively, and locking full planks all through the center of the room.
Step 10 Start Filling In Edges and Corners
As you end filling in the course of the room with planks, start measuring and chopping items to fill edges and corners. That is the half that’s way more difficult putting in herringbone LVP versus the common planks, however the finish result’s so price it.

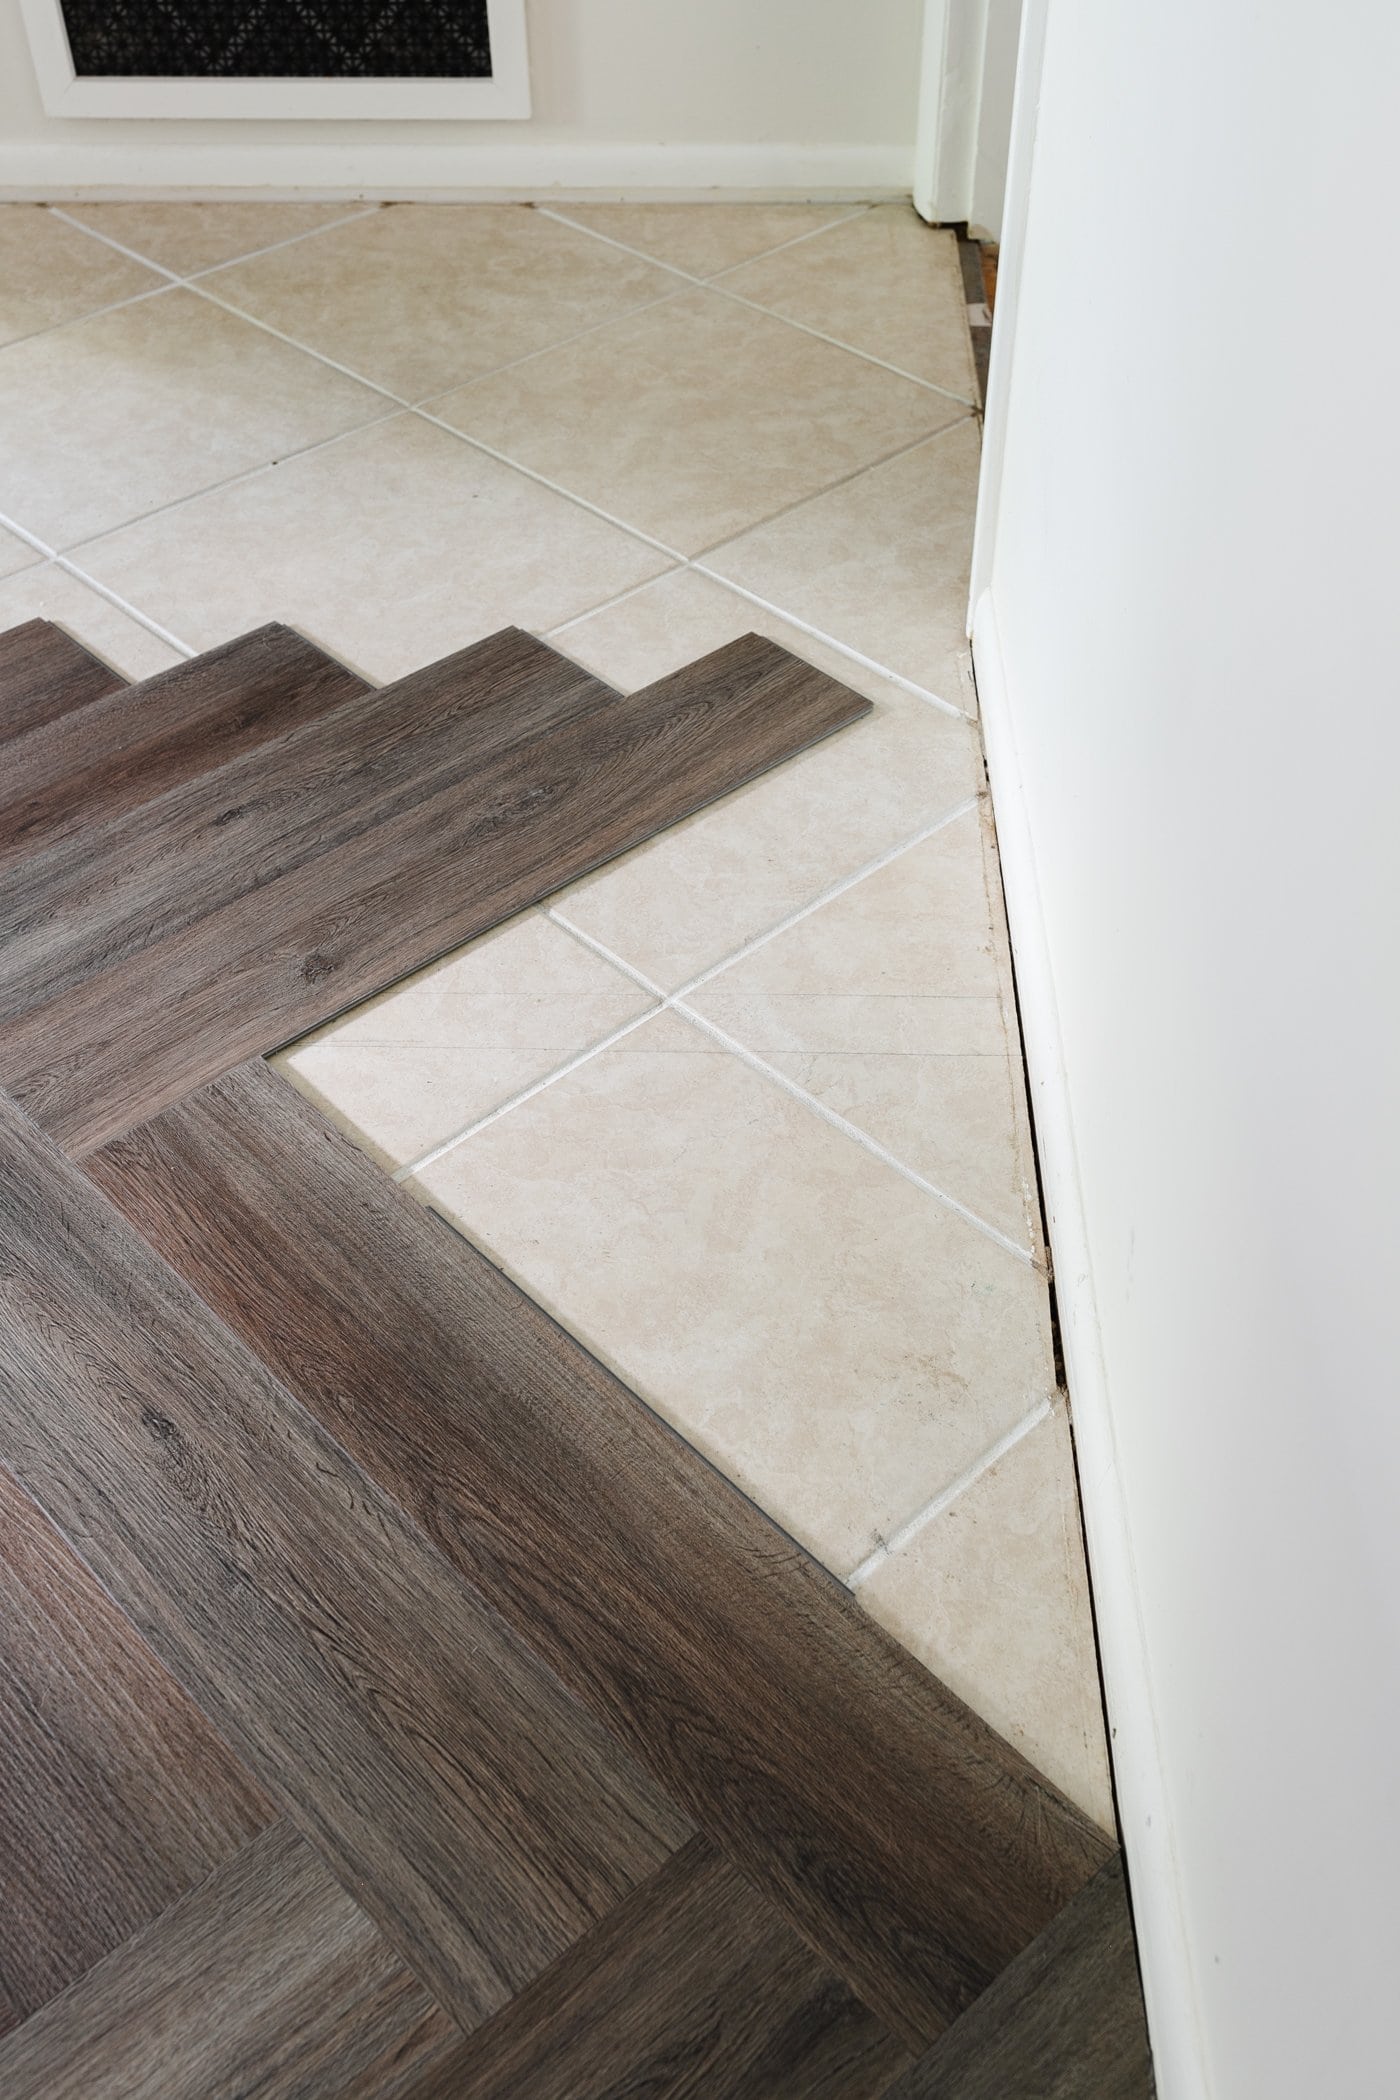
Step 11 Measure Edges
Use a tape measure to seek out the space between a wall and a plank.

Step 12 Mark Plank Width
Use a spacer reduce from a plank to mark the width. Measure that new line.

Step 13 Mark the Plank for Slicing
Use the measurements from Steps 11 and 12 to mark a brand new plank.

Step 14 Lower the Plank
Use a jigsaw to chop the plank the place you marked the measurements on it in Step 13.


Step 15 Fill within the Remainder of the Room
Proceed filling all edges and corners by measuring and chopping planks in addition to working round any obstacles like flooring vents utilizing the identical methodology.
Step 16 Connect Transition Strips
In any doorways, snap transition strips into place for a clear transition between rooms.
Step 17 Connect Shoe Molding
As soon as all flooring is put in, reattach shoe molding onto baseboards to cowl any tough reduce edges within the flooring’s perimeter. Use a end nailer or hammer and brad nails to reattach shoe molding. Then, caulk and paint.

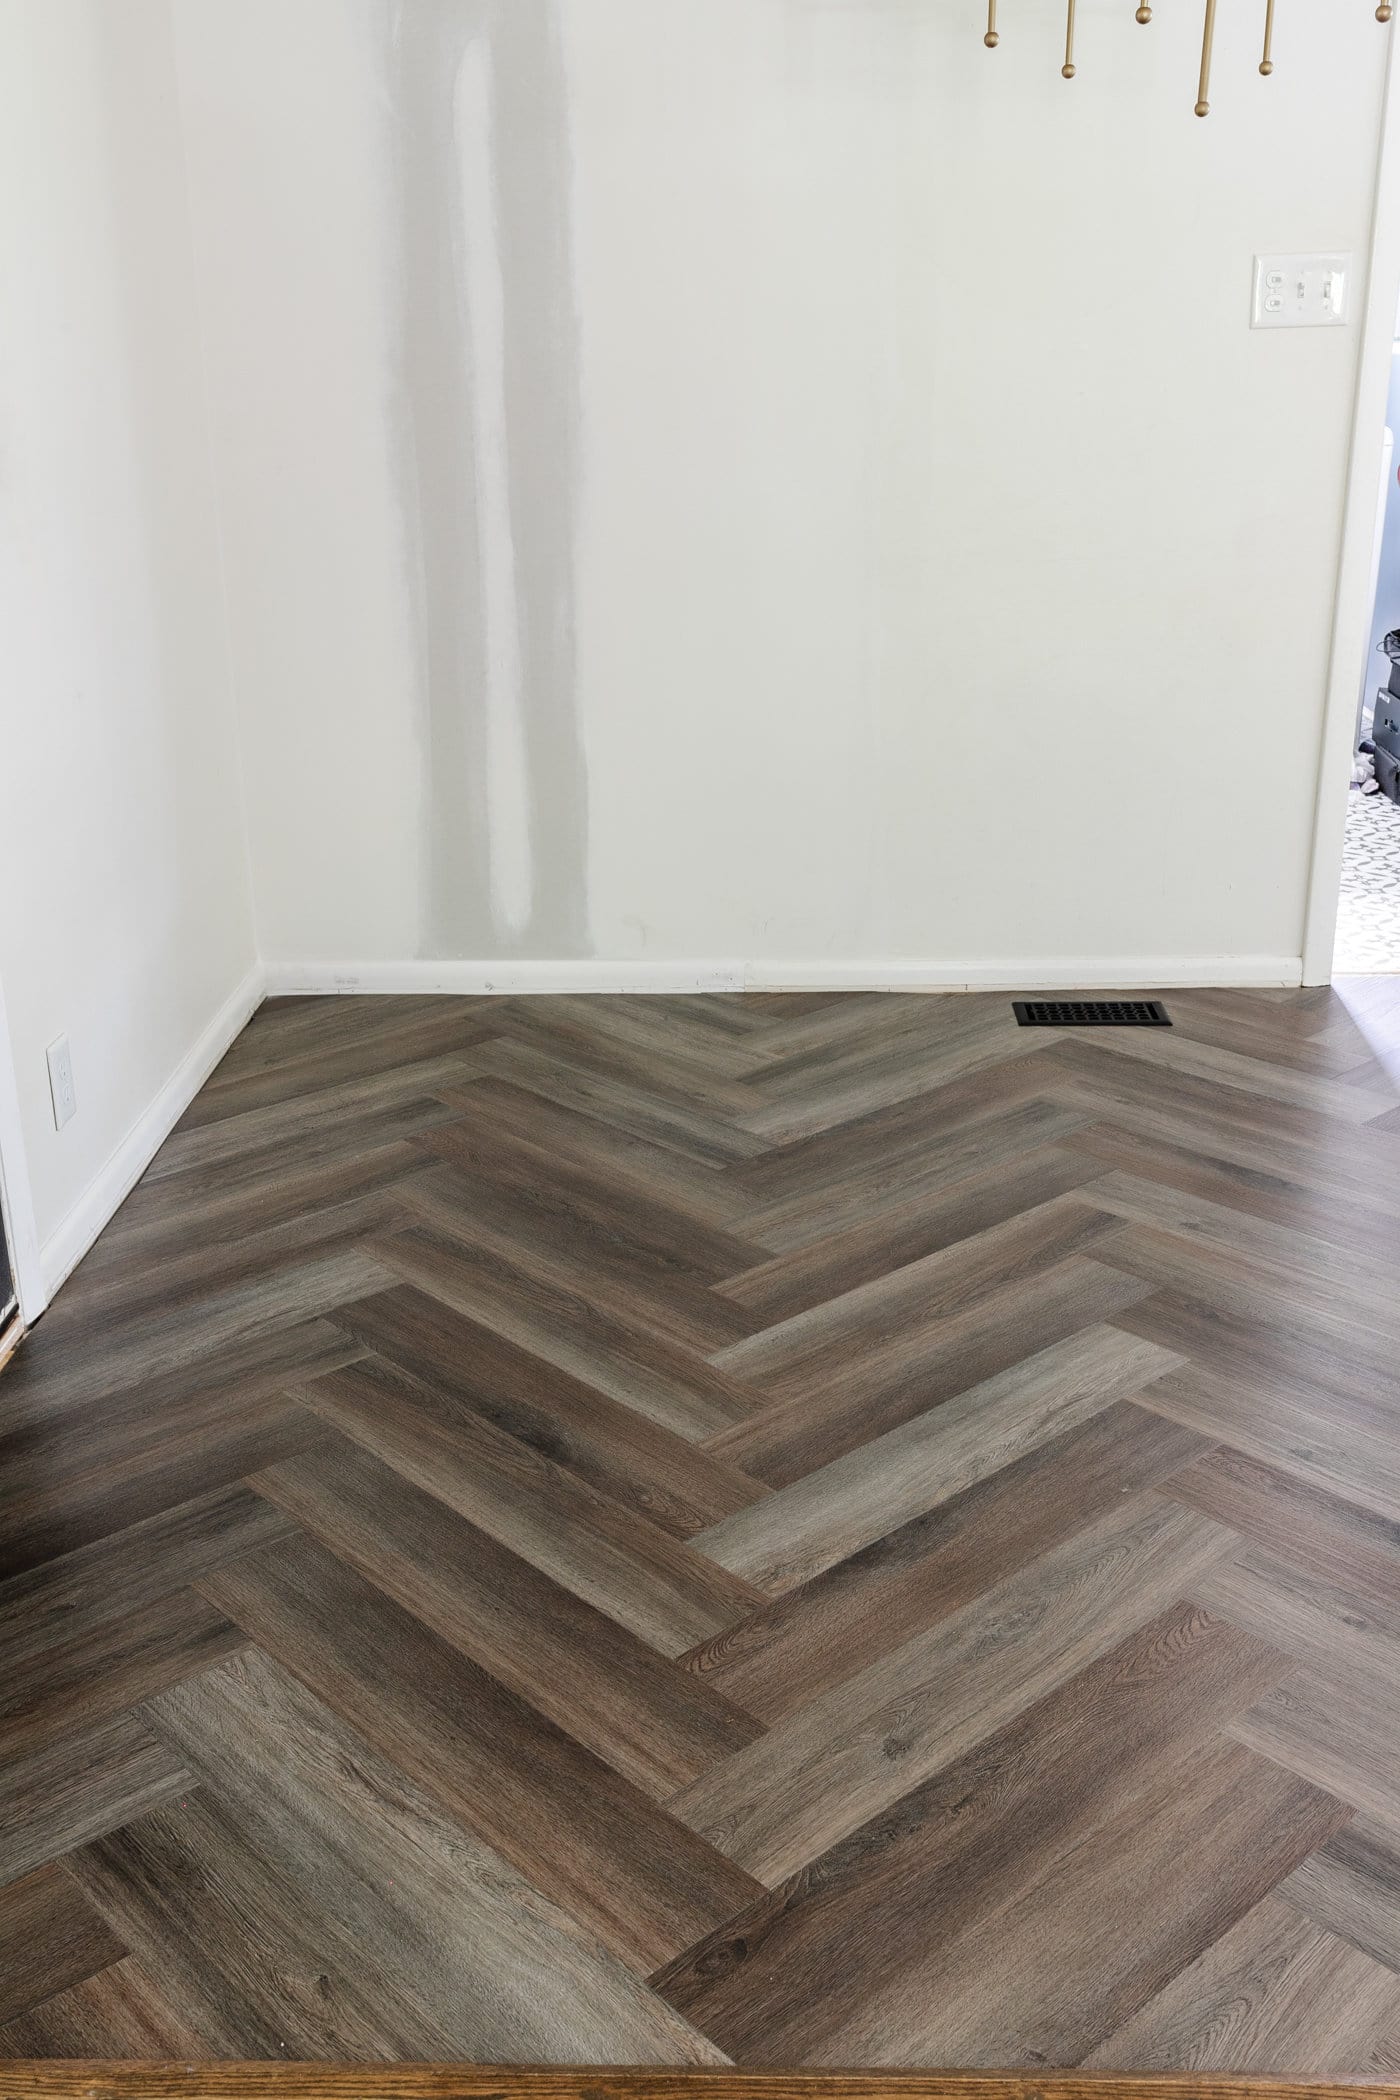
The Completed Herringbone LVP Floating Ground
Doesn’t it look one million occasions higher than that outdated beige tile?! It looks like a model new room with stunning distinction now! That herringbone vinyl flooring kicks it up a notch from the common model.
And because it’s water-resistant, I don’t ever have to fret about spills or a leaky dishwasher.
I actually can’t imagine it took us this lengthy to make this modification, and now I’m questioning why we didn’t deal with this venture earlier. I adore it a lot!


We nonetheless have much more work to do on this breakfast nook like a banquette makeover and set up, chandelier alternative, desk construct, wall therapy addition… it’s going to be fairly a journey.
However I can simply see it in my head, and it’s completely attractive now that the outdated tile is outta right here (or a minimum of out of sight).
What do you consider the herringbone LVP flooring choice? It was fairly a bit extra work than the common LVP floating flooring, nevertheless it completely paid off in my guide.


