

In case your previous kitchen faucet is leaking and inflicting water injury in your home, it’s time for a alternative. Should you’re a helpful do-it-yourselfer with some plumbing expertise, this ought to be a simple mission for you.
The preliminary step is to disconnect the water provide traces beneath the sink. This will sometimes be performed with an adjustable wrench.
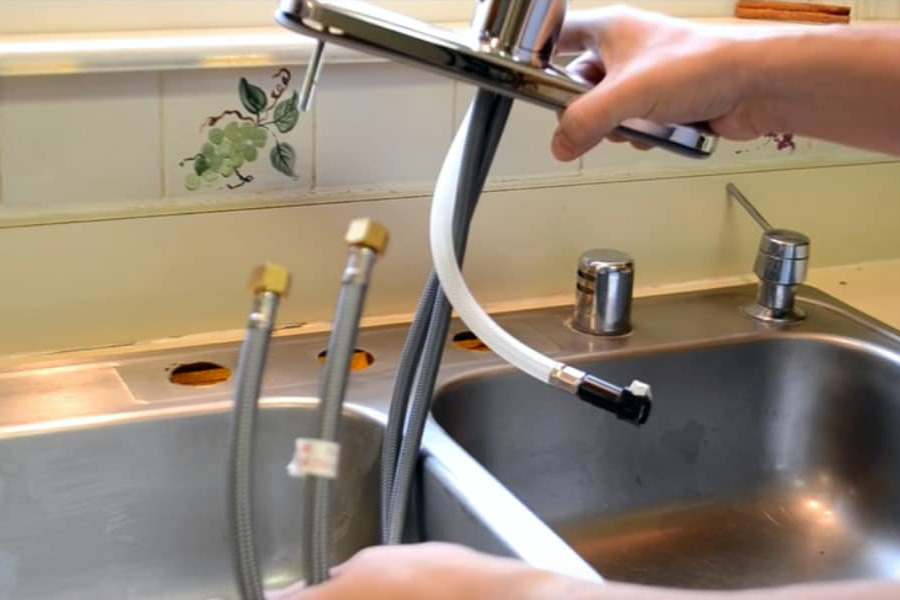
Eradicating The Previous Faucet
Earlier than putting in a brand new kitchen faucet, it’s smart to take the previous one out first in order to forestall any plumbing mishaps.
Sometimes, an previous faucet could be taken off with out an excessive amount of effort. However you could want to make use of some pliers and power to loosen up its connections beneath the sink.
In case you are having bother, strive making use of some penetrating oil to the connections and dealing them free with pliers.
As soon as the previous faucet is taken aside, you should definitely completely clear up any grime and particles with a rag soaked in vinegar. This could do the trick.
As you are taking the previous faucet out of the sink, you should definitely place it in a bucket. Doing it will defend the sink and forestall rust whilst you take it aside.
Putting in The New Faucet
When you’ve taken the previous faucet off, it’s time to put in your new one. Though this mission is comparatively easy, take time to measure your sink and choose a faucet that meets your entire necessities.
For instance, if you should change an older single-handle faucet with a two-handle centerset, measure the gap between the left-most gap and its heart on the far proper (often known as “on heart”) so that each one sinkholes are correctly aligned and no points come up.
As soon as your new faucet has been drilled to the proper diameter and size, join your cold and hot water provide traces. Be sure you wrap the plumber’s tape round any threaded sections of those pipes. Moreover, make sure that to reattach any shutoff valves feeding your sink.

Change a leaking kitchen faucet
Flush The Provide Traces
Flushing your kitchen provide traces can assist clear away any sediment or buildup that may very well be inflicting low water move. It would additionally enhance style and odor, in addition to lower the probability of discolored water.
You possibly can soak valves in a single day in vinegar, then drain the pipes and refill them with contemporary water. It will dissolve scale and rust that would block valves and decelerate water move.
As soon as your faucet is put in, you may reattach its provide traces. We suggest selecting braided stainless-steel connectors with gaskets at every finish for higher longevity and fewer leak potential than older-style connectors.
Earlier than you start, place rags or a container below the sink to catch any water that will spill out of its traces. It will prevent water and make it less complicated to find any instruments needed for alternative.
Putting in The Sink Holes
Earlier than putting in a brand new faucet in your kitchen, there are a number of steps it’s essential to take first. Begin by taking away the previous faucet from its location.
Accessing the nuts that safe the tap could be difficult in small, darkish areas below sinks. This makes it troublesome to succeed in them and should result in additional frustration when attempting to sort things.
Fortunately, there are a number of instruments that may make the job less complicated. If the nut is cussed, a wire brush or lubricant spray could assist loosen it.
As soon as the nut is free, take it off and carry the tap out of its holes utilizing an adjustable wrench. For this step, it’s useful to have entry to a toolbox with an adjustable wrench in case you want it.
Subsequent, you’ll want to organize the sink for set up. This could be a comparatively easy course of relying on what sort of faucet and equipment you choose. Be sure you choose a faucet that matches the variety of holes in your sink.


