
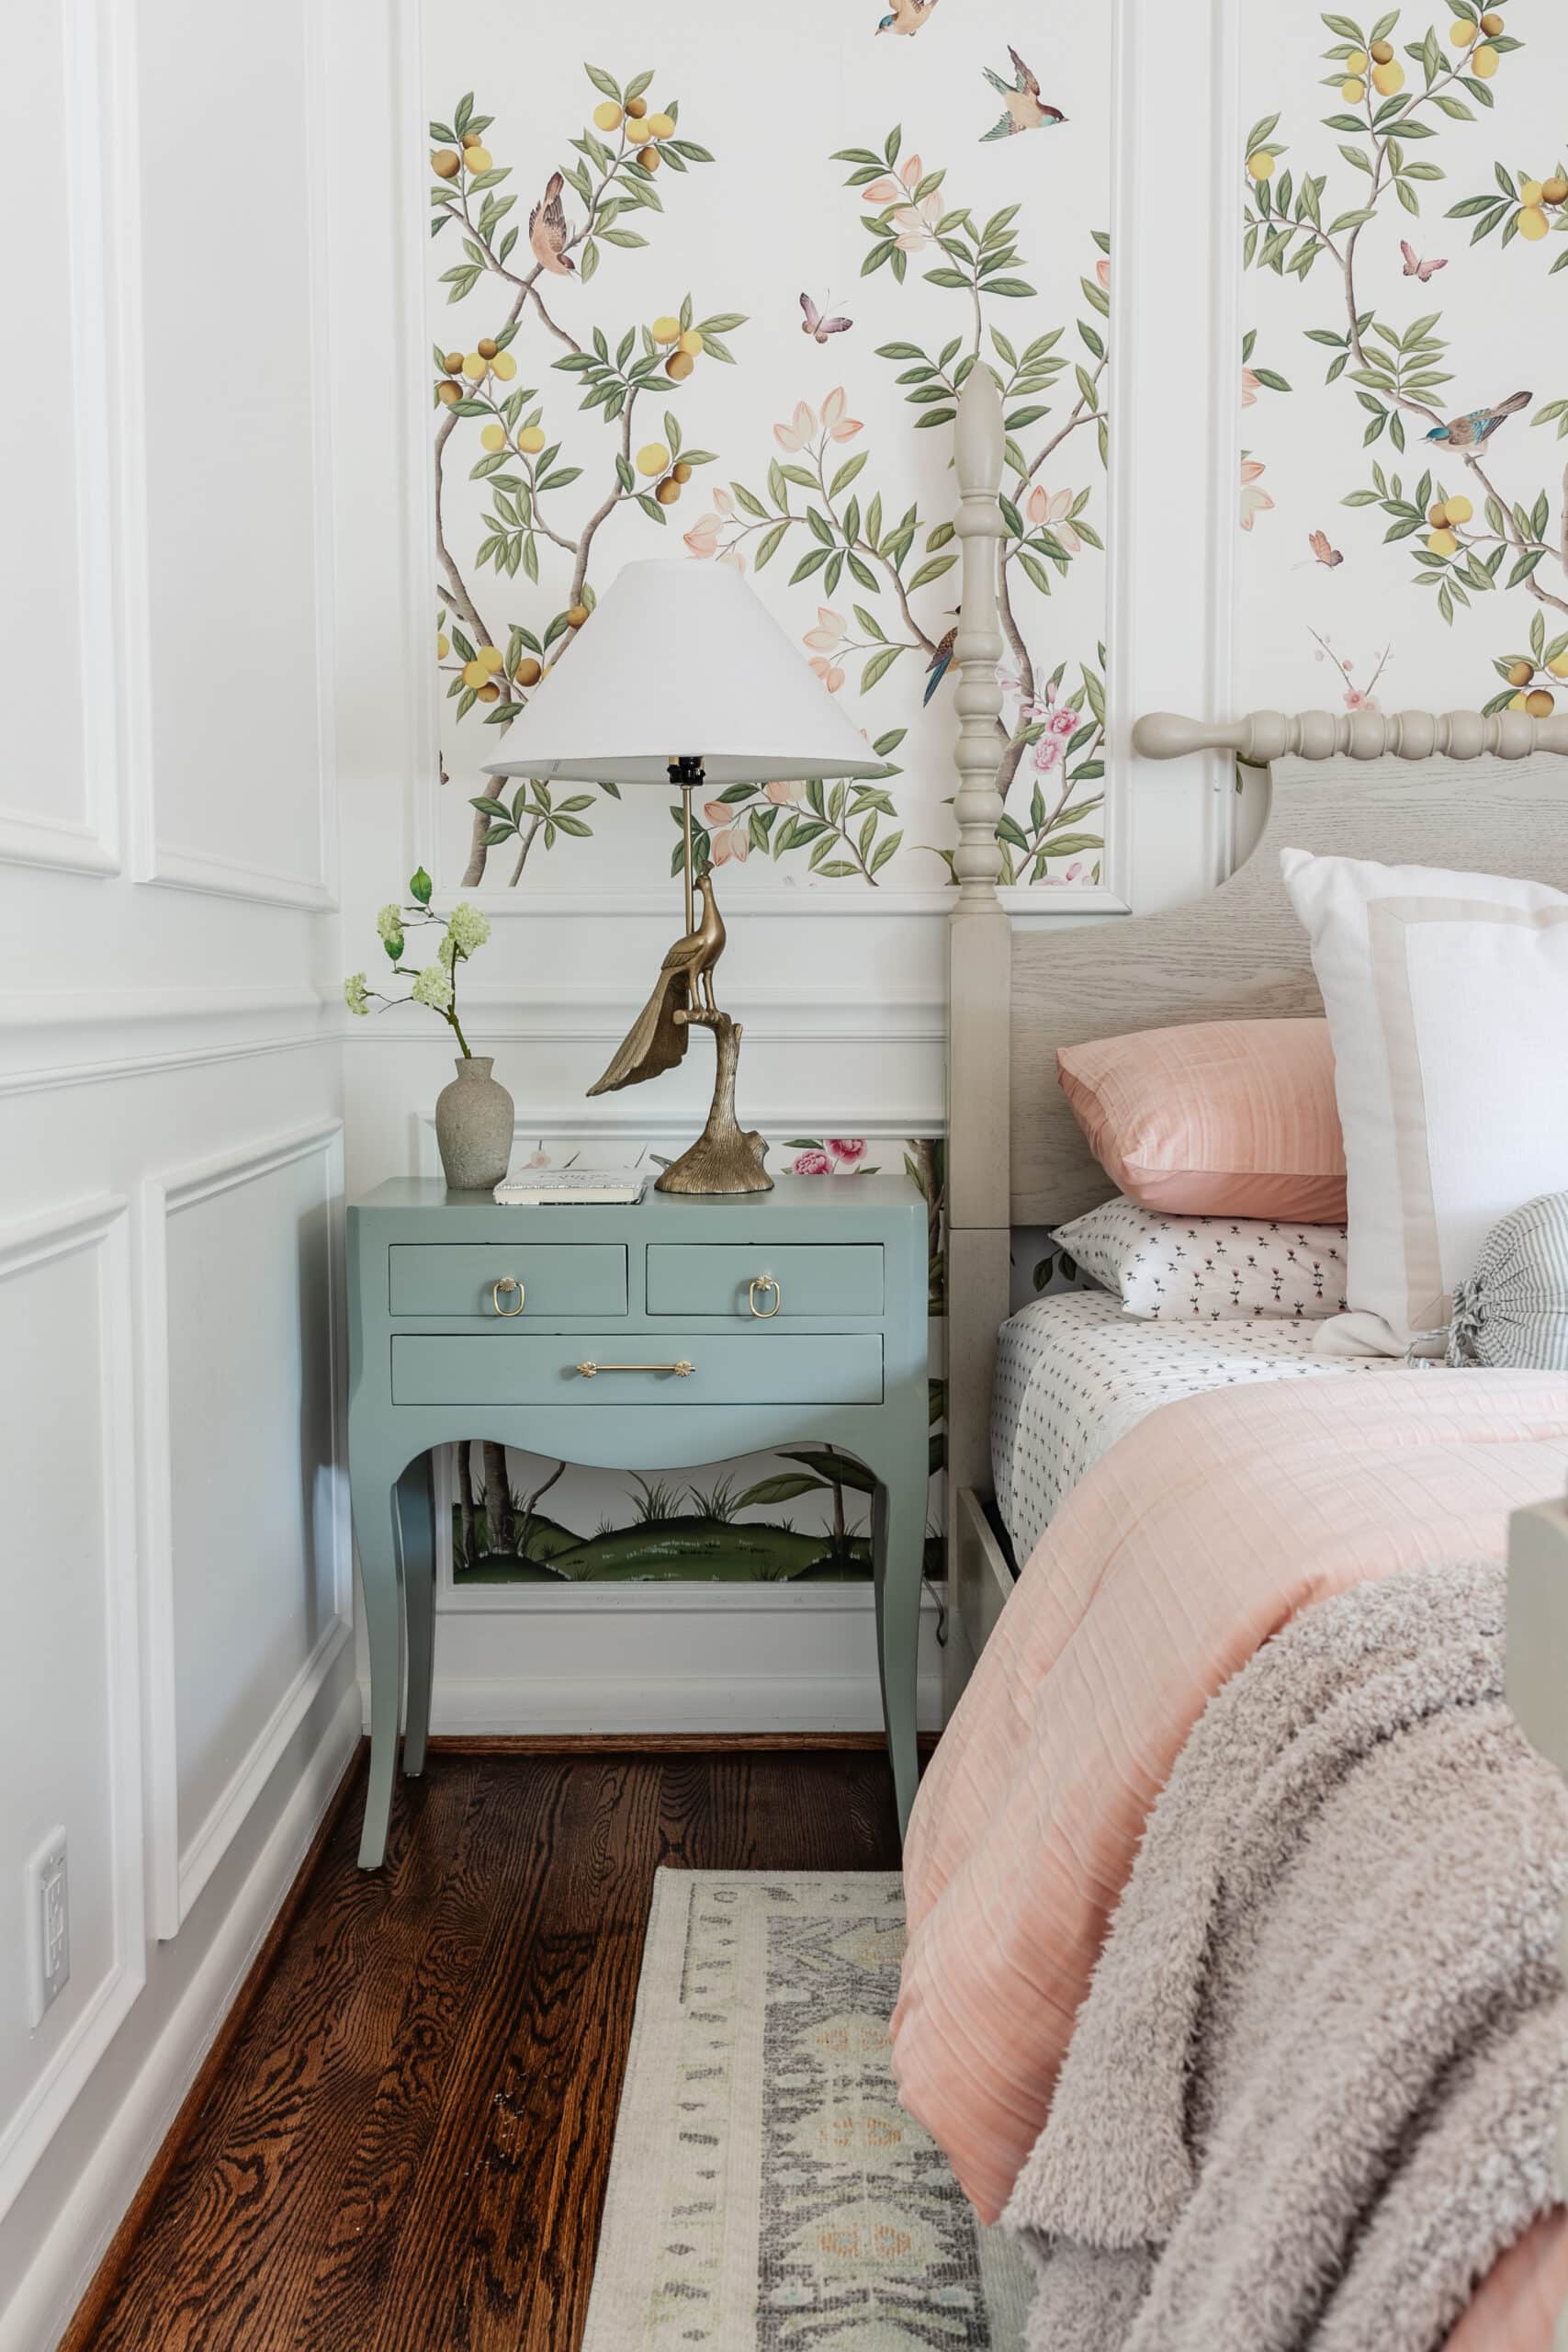

The snowball impact of Regan’s room and the hunt to search out the proper nightstands lastly resulted in a cheerful ending! Nevertheless it took a little bit further effort with paint and sawdust (as typical) to get there.
It was all price it for these candy minty inexperienced gloss painted bedside tables!

As all the time, I searched on Fb Market to search out these nightstands for $100 every. They’re product of strong wooden with dovetailed drawers, two issues I all the time search for when buying furnishings secondhand.
I like the look of shiny gloss furnishings and cupboards that I’ve seen a resurgence of currently, particularly within the grandmillennial model pattern. However these tables began out as the precise polar reverse end with a distressed, crackled farmhouse painted layer.
Associated: Discover the Greatest Furnishings Offers on Fb Market

Humorous how adorning kinds evolve, huh?
9 years in the past, when this weblog first began, I’d have been all about this tremendous distressed look. (And if that’s your jam, embrace it. There’s nothing mistaken with farmhouse model. I believe it’s stunning, simply not well-suited for my conventional colonial home these days.)
So I needed to take them from tremendous crackled and tough to a shiny, easy end to create the gloss painted bedside tables I wished. Listed below are the steps if you happen to ever need to give your distressed furnishings a elegant look.
Create a Clean Floor for Gloss Painted Furnishings
Provides
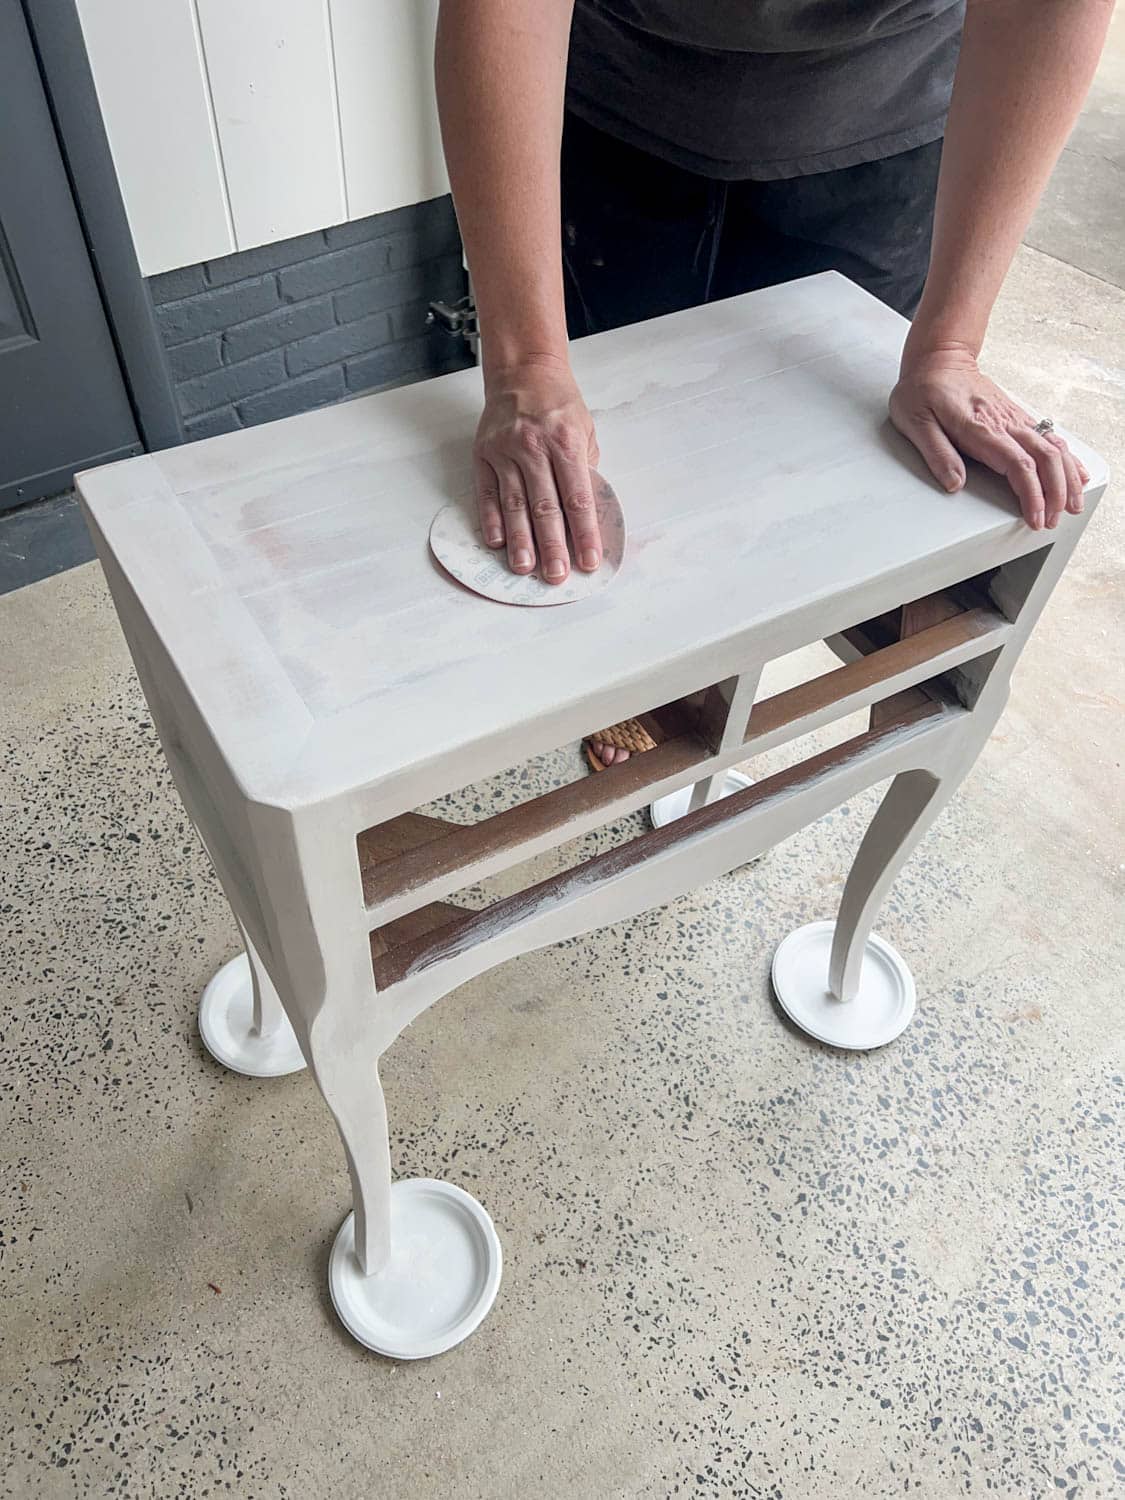
Step 1 – Sand With Coarse Grit
Utilizing the orbital sander, easy out the tough floor with a number of coarse grit sanding pads. You might not want a sanding pad as abrasive as a rough grit for portray over different forms of painted furnishings, however to get a easy look on a distressed floor, there’s no shortcut.
The draw back of sunshine reflective gloss paint is it should present each single flaw on a bit of furnishings, so that you need to get the floor as easy as potential. On the plus facet, gloss paint sheen is the best to wash.
You would additionally use a furnishings stripper, however that’s a way more time-consuming, messy course of.
Apply wooden filler within the outdated {hardware} holes at the moment too so as to sand them easy to drill new holes in Step 2.

Step 2 – Sand Once more With Medium Grit and Tremendous Grit
As soon as the paint layer is gone, begin smoothing out the wooden by graduating as much as a medium grit sanding pad on the orbital sander, and repeat the method sanding throughout.
Then sand another time with a wonderful grit sanding pad to get the wooden as easy as potential, so that you’re working with a complete clean canvas.

Step 3 – Apply Primer
You positively want bonding primer, particularly on uncooked wooden and on a excessive site visitors furnishings piece like a nightstand.
I like to make use of INSL-X STIX Waterborne Bonding Primer as a result of it provides the paint superior adhesion that gained’t scuff or scratch off later. Only one coat will do the job.

Step 4 – Sand Primer
Extra sanding! (Do you see a theme right here?) Simply use a bit of extremely wonderful grit sandpaper to shortly hand sand over the primed floor after it’s dry to remove any drips or brushstroke marks.
Step 5 – Warmth Gloss Paint in a Gradual Cooker with Water
I realized this trick from The Southern Gail on Instagram (her mudroom cupboards with excessive gloss paint are to DIE for).
Place your can of gloss paint within the sluggish cooker stuffed with water set on low and let the paint warmth up. When paint is heat, it brushes on smoother and exhibits fewer brushstrokes than when it’s chilly.
You would additionally simply spray the gloss paint in your furnishings with a paint sprayer, however I actually hate the prep and cleanup that comes with utilizing a sprayer, so I keep away from it in any respect prices.

Try that smoooooooooth paint.

Step 6 – Use a Spherical Brush to Paint
To point out the fewest brush strokes potential, a spherical paintbrush is the perfect for furnishings! It holds a lot extra paint than a daily straight or angled paintbrush, which additionally have a tendency to depart onerous strains within the paint end.
Since you’re working with heat paint, attempt to apply it shortly in a good coat (not too thick, not too skinny) so it doesn’t settle down.
Keep away from the temptation to overbrush the paint. When you’re utilizing a waterborne alkyd like I’m equivalent to Sherwin Williams Enamel or Benjamin Moore Advance, brush strokes will start to self-level because the water based mostly paint dries.

Step 7 – Sand Between Coats
Sand another time. Are you uninterested in sanding but? As soon as the primary coat of paint is dry, simply scuff over the floor one final time with extremely wonderful grid sandpaper to remove any imperfections within the first layer of paint.

Step 8 – End With a Clean Second Coat
Brush on one final coat of heat paint and admire your easy gloss painted bedside tables (or no matter different piece of furnishings you determined to do that on).
Don’t neglect some fairly {hardware}, after all!
Associated: Greatest Locations to Purchase Furnishings {Hardware} and Kitchen Cupboard Pulls

Completed Gloss Painted Nightstands
Ta da! You’d by no means guess these have been upcycled bedside tables. No extra distressed farmhouse end! My digicam actually doesn’t do the shiny, easy floor justice.
We used this similar coloration, Sherwin Williams Evergreen Fog, on this trendy boho cottage bed room final yr the place it appeared very inexperienced, but it seems to be utterly totally different on this nightstand. I like it although!
Associated: 12 Greatest Sage Inexperienced Paint Colours for a Enjoyable Room


I’m so in love with this cute bed room! As soon as Robert and I hauled these in and added her peacock lamps, Regan requested, “Can I put my Barbies within the drawers?”
So I suppose now these nightstands are Barbie’s new hangout. I’m not even in the slightest degree stunned.
Extra Furnishings Makeover Concepts